Androidでは文字列を表示するときにリソースファイルを利用する
Androidアプリではアプリ内に表示するテキスト(普通のテキストやボタンなどのウィジェットに表示させる文字列なども)を、プログラムのコード内に直接記述するのではなくstrings.xmlという文字列リソースファイルで管理します。Androidアプリ制作でプログラムファイル・レイアウトのxmlファイルに並んでよく使うことになるstrings.xmlファイルについてまとめました。
目次 Table of Contents
strings.xmlファイルとは
冒頭にも書きましたが、原則的にAndroidアプリでは文字列をリソースファイルで一括管理します。.javaのコード内に直接記述するのではなく、あらかじめstrings.xmlファイルに用意しておきます。そうなると対象になるのは静的に決められた文字列であって、ユーザーが入力した文字列などを利用する場合は直接コードに書くことになります。
ファイルが分かれるのでややめんどくさく感じるかもしれませんが、アプリの多言語化の際に威力を発揮します。例えば日本語用の所定のフォルダにstrings.xmlを置き、strings.xml内の文字列を英語に翻訳したものを英語用フォルダに置くことで、Android OSが「言語設定」に従って自動的に該当のstrings.xmlに切り替えてくれる仕組みがあるのです。
文字列リソースを切り分けることで後のメンテナンスもしやすくなります。仮に日本語版のアプリしか作る予定がなかったとしても、静的な文字列はstrings.xmlに記述するように癖づけるとよいかと思います。
strings.xmlファイルの場所は「app」-「res」-「values」です。
文字列リソースファイルの参照のしかた
strings.xmlを開きます。
<?xml version=”1.0″ encoding=”utf-8″?>
<resources>
<string name=”app_name”>アプリ名</string>
</resources>
アプリの名前(プロジェクト名)の文字列に対して”app_name”というname属性が振られています。
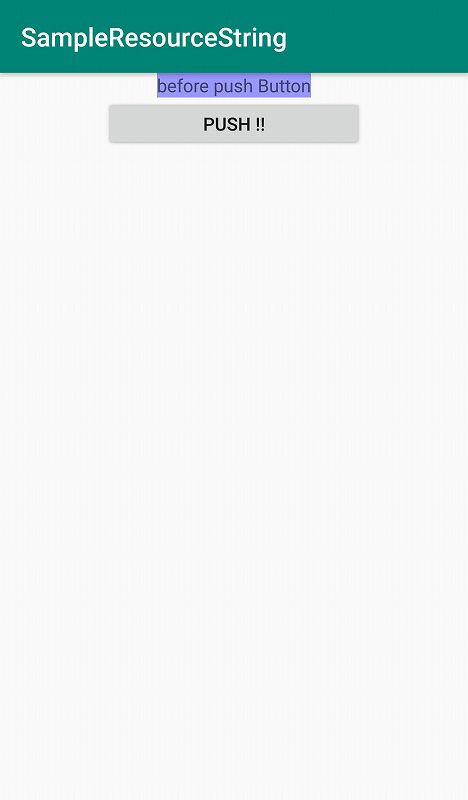
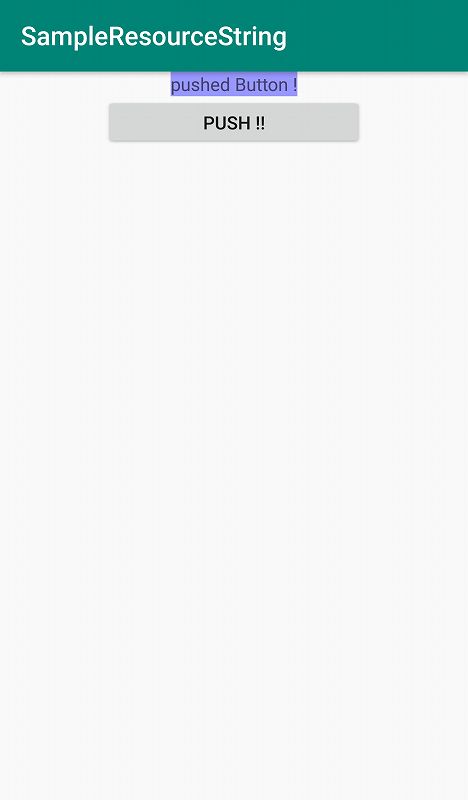
以下は、ボタンを押すとTextViewの文字列が変わるサンプルコードです。
【strings.xml】
<?xml version=”1.0″ encoding=”utf-8″?>
<resources>
<string name=”app_name”>SampleResourceString</string>
<string name=”button_display”>PUSH !!</string>
<string name=”before_push_button”>before push Button</string>
<string name=”after_push_button”>pushed Button !</string>
</resources>
【activity_main.xml】
<?xml version=”1.0″ encoding=”utf-8″?>
<LinearLayout
xmlns:android=”http://schemas.android.com/apk/res/android”
xmlns:tools=”http://schemas.android.com/tools”
android:layout_width=”match_parent”
android:layout_height=”match_parent”
android:orientation=”vertical”
tools:context=”.MainActivity” >
<LinearLayout
android:layout_width=”match_parent”
android:layout_height=”wrap_content”
android:gravity=”center”
android:orientation=”vertical” >
<TextView
android:id=”@+id/text_view”
android:layout_width=”wrap_content”
android:layout_height=”wrap_content”
android:text=”@string/before_push_button”
android:background=”#9999ff”
/>
<Button
android:id=”@+id/button”
android:layout_width=”200dp”
android:layout_height=”40dp”
android:text=”@string/button_display”
/>
</LinearLayout>
</LinearLayout>
【MainActivity.java】
package com.example.sampleresourcestring;
import androidx.appcompat.app.AppCompatActivity;
import android.os.Bundle;
import android.view.View;
import android.widget.TextView;
import android.widget.Button;
public class MainActivity extends AppCompatActivity {
@Override
protected void onCreate(Bundle savedInstanceState) {
super.onCreate(savedInstanceState);
setContentView(R.layout.activity_main);
//ボタンを設置
Button button = findViewById(R.id.button);
//ボタン押下イベント
button.setOnClickListener(new View.OnClickListener(){
@Override
public void onClick(View view){
TextView textView = findViewById(R.id.text_view);
textView.setText(getString(R.string.after_push_button));
}
});
}
}
文字列リソースをactivity_main.xml、MainActivity.javaのそれぞれから参照する記述は以下のとおりです。
- レイアウトファイルから:”@string/リソース名”
- プログラムファイルから:R.string.リソース名
getString(R.string.リソース名)で文字列リソースをStringとして取得できます。
文字列配列のリソースとして利用する
strings.xmlファイルでは文字列配列も利用できます。string-arrayタグの中にitemタグを入れ子にして記述します。
以下サンプルです。
【strings.xml】
<?xml version=”1.0″ encoding=”utf-8″?>
<resources>
<string name=”app_name”>SampleResourceString</string>
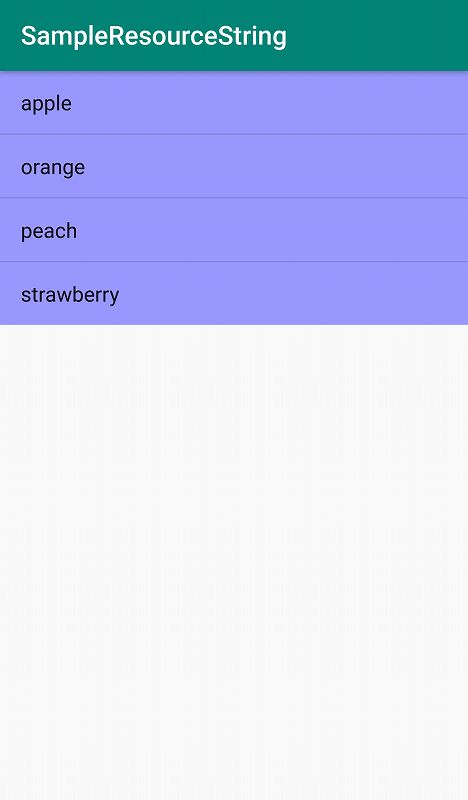
<string-array name=”fruits_array”>
<item>apple</item>
<item>orange</item>
<item>peach</item>
<item>strawberry</item>
</string-array>
</resources>
【activity_main.xml】
<?xml version=”1.0″ encoding=”utf-8″?>
<LinearLayout
xmlns:android=”http://schemas.android.com/apk/res/android”
xmlns:tools=”http://schemas.android.com/tools”
android:layout_width=”match_parent”
android:layout_height=”match_parent”
android:orientation=”vertical”
tools:context=”.MainActivity” >
<LinearLayout
android:layout_width=”match_parent”
android:layout_height=”wrap_content”
android:gravity=”center”
android:orientation=”vertical” >
<ListView
android:id=”@+id/text_view”
android:layout_width=”match_parent”
android:layout_height=”wrap_content”
android:background=”#9999ff”
android:entries=”@array/fruits_array”
/>
</LinearLayout>
</LinearLayout>
【MainActivity.java】
package com.example.sampleresourcestring;
import androidx.appcompat.app.AppCompatActivity;
import android.os.Bundle;
import android.widget.ListView;
import android.util.Log;
import android.content.res.Resources;
public class MainActivity extends AppCompatActivity {
@Override
protected void onCreate(Bundle savedInstanceState) {
super.onCreate(savedInstanceState);
setContentView(R.layout.activity_main);
Resources resources = getResources();
String[] fruits = resources.getStringArray(R.array.fruits_array);
for(int i = 0; i < fruits.length; i++){
Log.d(“MainActivity”, fruits[i]);
}
}
}
strings.xmlではstring-arrayタグにitemタグを入れ子にして記述します。
レイアウトファイルからの参照は @array/配列名 となります。
ListViewはリストを表示することができるwidgetです。
プログラムファイルからの参照は R.array.配列名 となります。文字列配列の場合は、Resourcesクラスのインスタンスを利用します。
サンプルコードではリソースファイルから参照した配列を通常の配列として取得し、Logcatに出力しています。
